
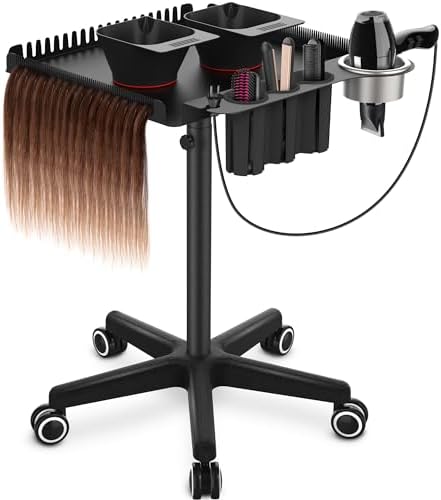
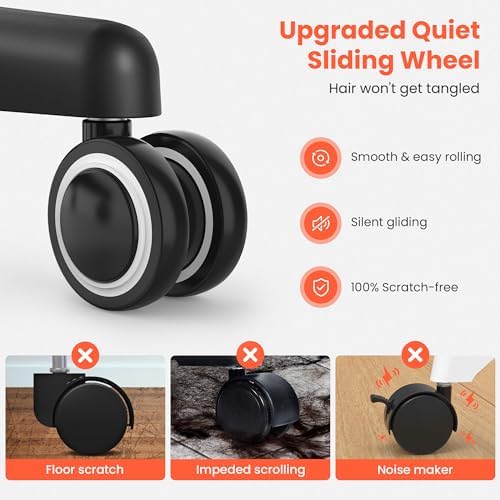
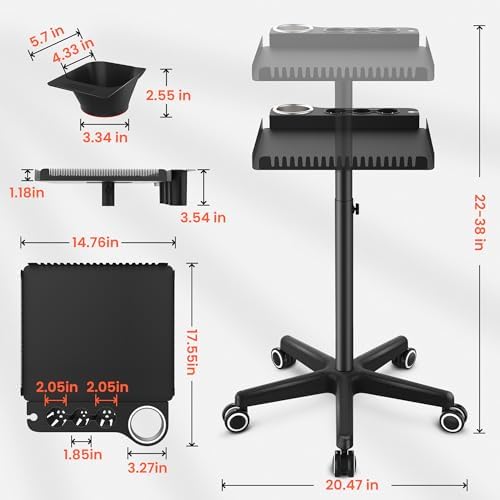
TASALON Rolling Salon Tray on Wheels, Metal Hairstylist Tray Rolling Cart for Hair Salon Station with 2 Magnetic Hair Color Bowls, Salon Trolley Cart with Holder and Hair Separator Stand
内部产品

Product Description
function logShoppableMetrics(moduleName, showsAddToCart) { if (window.ue && window.ue.count) { window.ue.count("aplus:shoppable:" + moduleName + ":addToCart", showsAddToCart ? 1 : 0); } }


Salon Equipment for Hair Stylist

Product Parameters:
NW / GW: 7.1 lbs / 8.6 lbs
Package Size: 20" x 23" x 4.3"
Tray Material: Premium metal
Holder Material: Heat-resistant PP
Packing List:
Hairstylist cart x 1
Hair dryer holder x 1
Curling iron holder x 1
Magnetic coloring bowl x 2
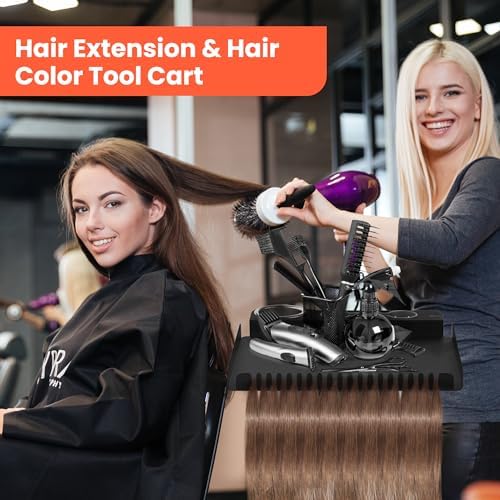
- Dye hair
- Braiding hair
- Hair extensions
Elevate Your Salon Workspace with Unparalleled Functionality and Style!
Are you a salon professional in search of the ultimate esthetician cart to enhance your work environment?
- Our salon cart for hair stylist is offering a blend of exceptional functionality, sophistication, and a unique magnetic feature that sets it apart from the rest.
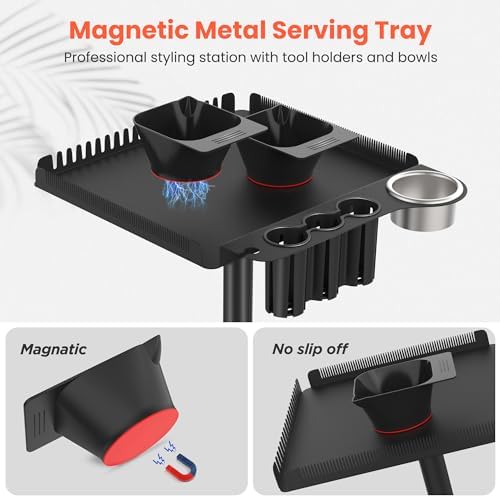
- Upgrade your hair station with our salon stations for hair stylist featuring a metal color tray, heat-resistant tool holder, extension holder and magnetic hair dye bowls.
- It seamlessly merges style and functionality, streamlining your work processes, improving organization, and eliminating the risk of spills during hair dye sessions.
- Don't miss the opportunity to transform your salon environment into a highly efficient and stylish workspace. Invest in the barber station trusted by salon professionals worldwide.
TASALON Hair Cart Organizer with Wheels

Detail of rolling tray for hair stylist.


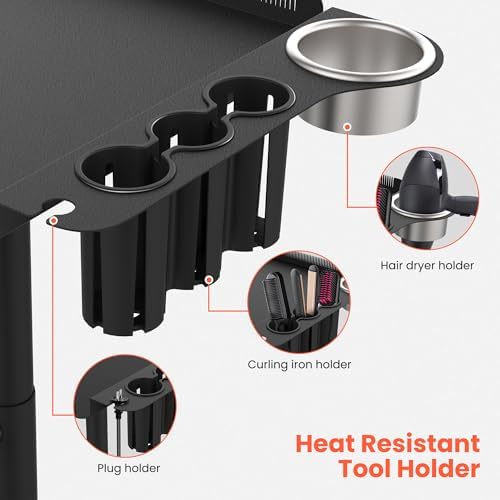
Heat-Resistant PP Hair Salon Supplies Tool Holder
Ideal for storing hot salon appliances such as hair connector iron, straightening combs, and curling irons.
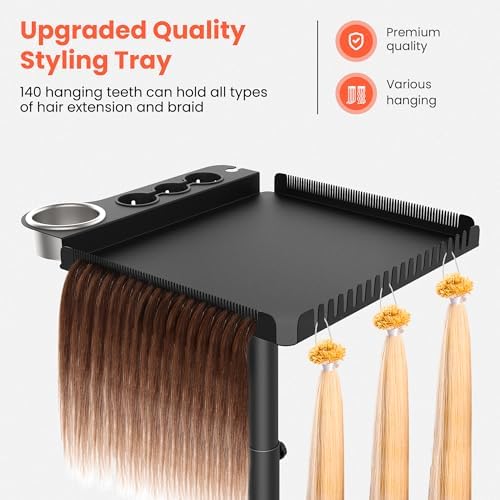
Multifunctional Real Hair Extensions Teeth
It can hang a variety of real hair extensions, as well as hair barber accessories such as hair dye mixers.
Humanized Storage and Organization Design
Say goodbye to cluttered countertops and keep your cords organized.
How to install the hair stylist cart on wheels.


Step 1:
Insert the wheels into the base.
Step 2:
Insert the large tube into the base.
Step 3:
Insert the small tube into the larger tube and secure.
Step 4:
Insert the tray into the small tube and secure it.

![Facial Hair Remover - The Original Hair Removal Spring [Design Patent]. Removes Hair from Upper Lip, Chin, Cheeks and Neck. 100% Stainless Steel](https://folksy.cc/public/uploads/news/beauty/beauty11/281_B001FXUTUM.jpg)